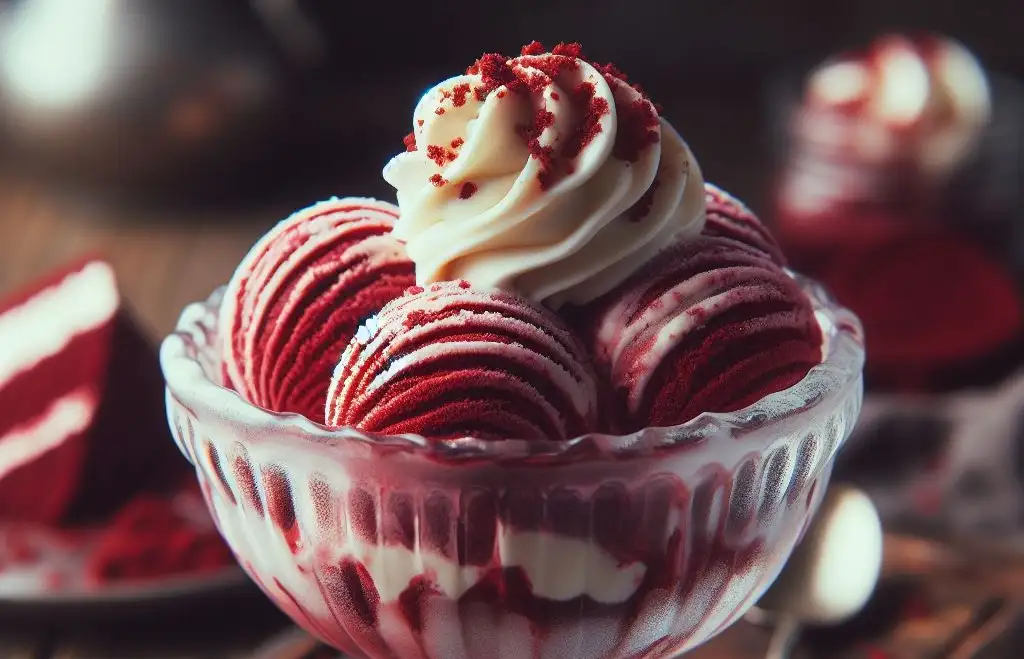
Homemade Red Velvet Ice Cream Recipe: Decadent Delight
Homemade Red Velvet Ice Cream Recipe: Are you tired of the same old vanilla and chocolate ice cream flavors? Do you want to add a touch of luxury to your summer treats?
Look no further than this delicious homemade Red Velvet Ice Cream recipe!
So grab your apron and get ready to churn up a batch of this irresistible Red Velvet Ice Cream.
Red Velvet Ice Cream Recipe – A Quick Overview
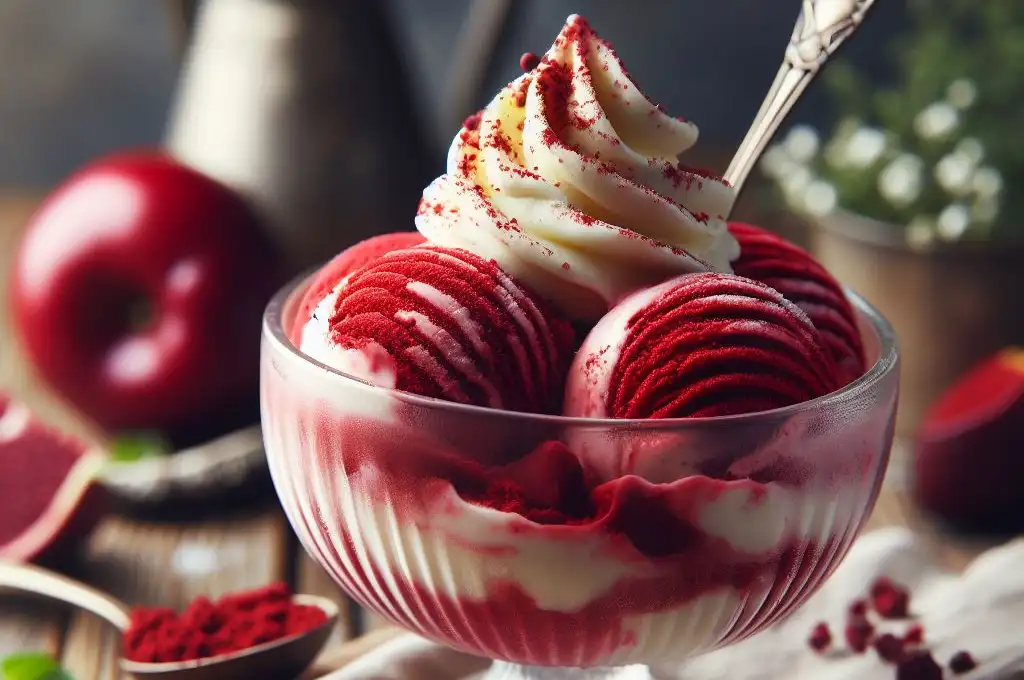
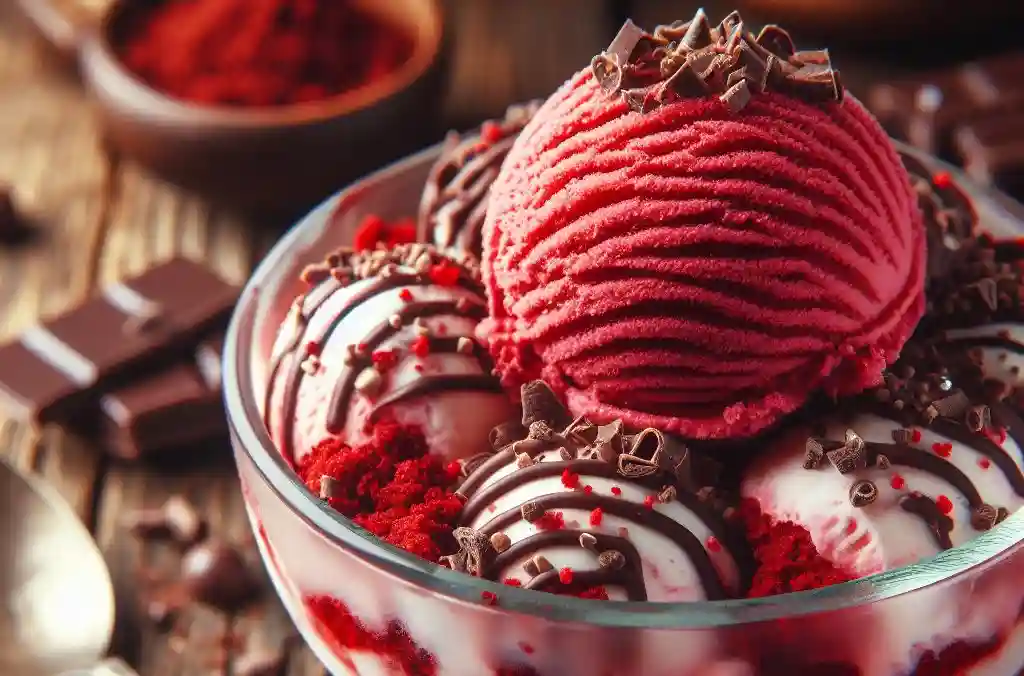
Recipe Description: A luxurious homemade ice cream that blends the rich, cocoa-infused taste of red velvet cake with the creamy texture of classic ice cream, adorned with swirls of cream cheese.
Preparation Time: 30 minutes
Cooking Time: No cook time, but requires 20-25 minutes of churning and a minimum of 2 hours for freezing.
Total Time: About 2 hours 55 minutes, including inactive freezing time.
Type of Dish: Dessert
The Cuisine of the Recipe: American-inspired
Quantity Produced by the Recipe: Makes approximately 1 quart (4 cups) of ice cream.
The Number of Calories in the Recipe: Calories can vary based on specific ingredients used but estimate around 200-300 calories per serving, depending on portion size.
About Red Velvet Ice Cream Recipe
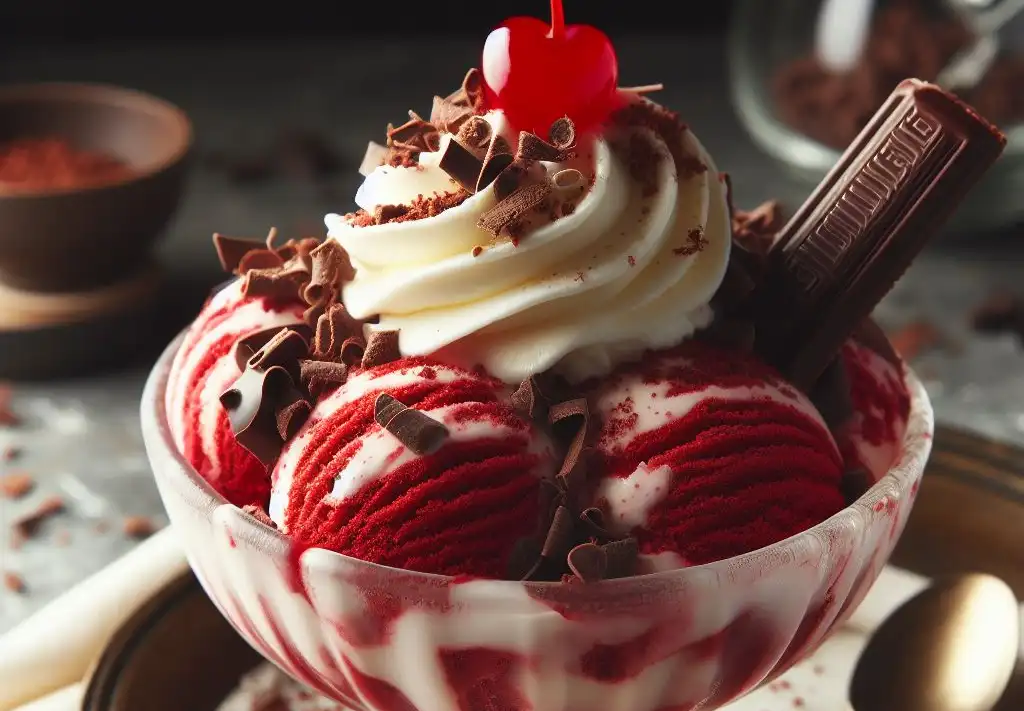
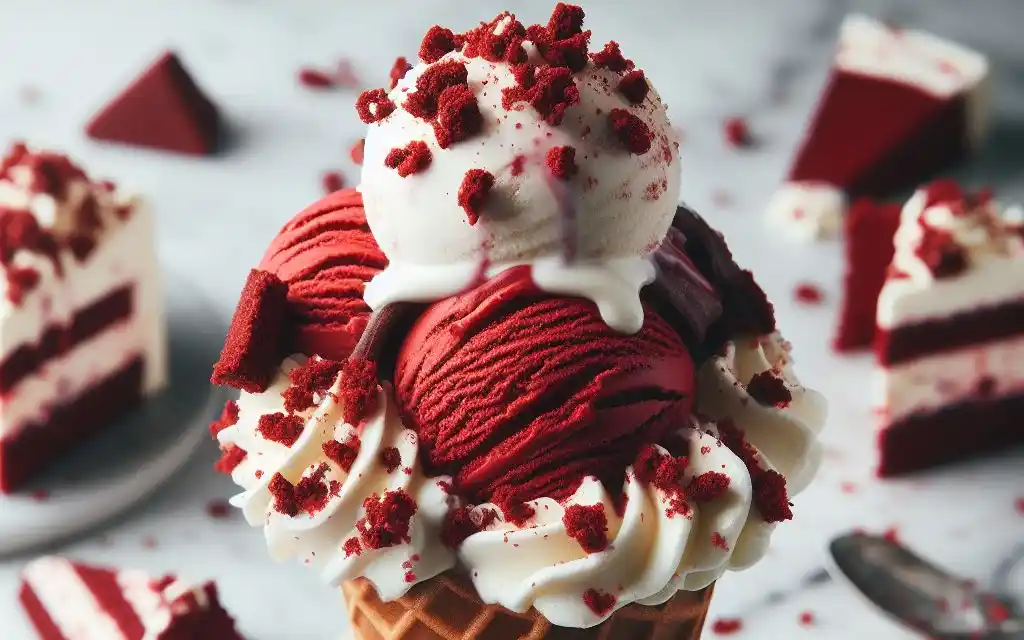
The Red Velvet Ice Cream recipe is a culinary masterpiece that marries the beloved flavors of red velvet cake with the creamy, refreshing texture of ice cream.
Inspired by the classic American cake known for its deep red color and unique taste, this ice cream variant incorporates cocoa, vanilla, and buttermilk notes, crowned with luscious cream cheese swirls.
It’s a celebration of contrast—rich yet light, indulgent yet refreshing. Perfect for red velvet aficionados and ice cream lovers alike, this recipe elevates the ordinary ice cream experience into an extraordinary delight.
Why Red Velvet Ice Cream is a Must-Try Treat?
- Unique Flavor Profile: Unlike traditional ice cream flavors, Red Velvet Ice Cream offers a distinct taste that combines the sweet, slightly cocoa-infused flavor of red velvet cake with the creamy richness of ice cream. It’s a delightful fusion that stands out in the crowded world of desserts.
- Visually Appealing: The vibrant red color of Red Velvet Ice Cream makes it a feast for the eyes. Serving this at any gathering is sure to draw attention and admiration, making it a showstopper dessert option.
- Texture Contrast: The smoothness of the ice cream mixed with the slight crunch of red velvet cake crumbs (if you choose to add them) and the creamy swirls of cream cheese icing create a multi-textural experience that is both satisfying and indulgent.
- Versatility in Serving: Red Velvet Ice Cream is incredibly versatile, pairing beautifully with a variety of toppings and desserts. Whether it’s alongside a slice of cake, drizzled with chocolate syrup, or enjoyed on its own, it offers a luxurious end to any meal.
- A Nod to Tradition, With a Twist: For fans of the classic red velvet cake, this ice cream is a novel way to enjoy the beloved flavor in a new, refreshing form. It’s a perfect blend of tradition and innovation, offering something familiar yet entirely new.
Ingredients You’ll Need for Your Red Velvet Ice Cream
- 2 cups of heavy cream, for a rich and luxurious texture
- 1 cup of whole milk, to balance the creaminess
- 3/4 cup of granulated sugar, for the perfect sweetness
- 1/4 cup of unsweetened cocoa powder, to infuse the iconic red velvet flavor
- 1 teaspoon of vanilla extract, to add depth to the flavor profile
- A pinch of salt, to enhance the overall taste
- 2 tablespoons of red food coloring, to achieve the signature red velvet hue
- 1/2 cup of cream cheese, softened, for the swirls that mimic frosting
- 1/4 cup of powdered sugar, to sweeten the cream cheese swirls
- 1 teaspoon of lemon juice, to add a slight tang to the cream cheese mixture
Essential Equipment for Homemade Ice Cream
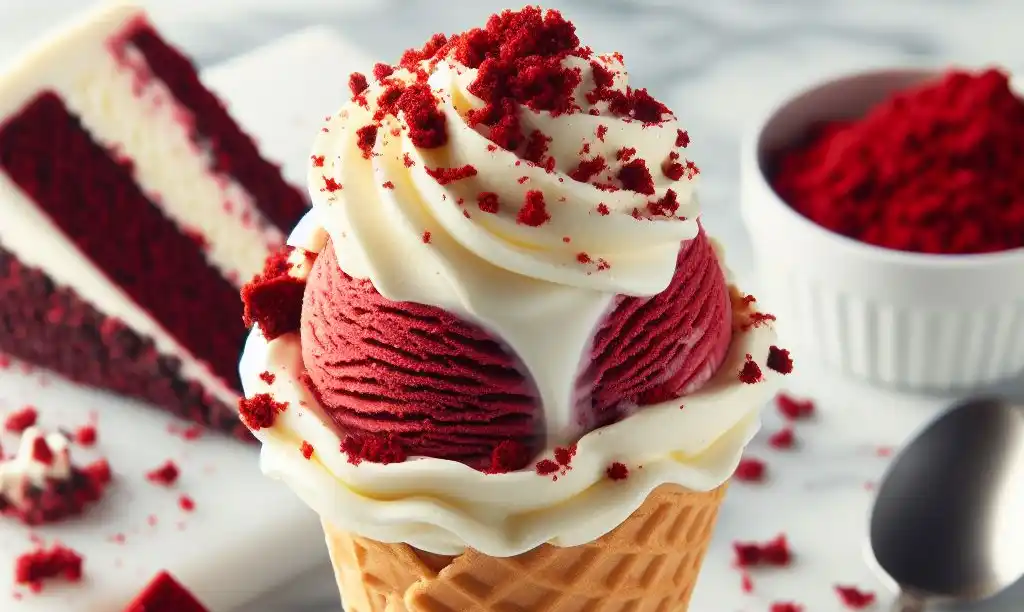
- Ice Cream Maker: A must-have for churning your mixture into smooth, creamy ice cream. There are various types available, from manual to electric. Choose one that suits your needs and budget.
- Mixing Bowls: You’ll need at least two bowls—one for mixing your ice cream base and another for preparing the cream cheese swirls. Opt for bowls that are easy to pour from.
- Whisk/Spatula: A whisk is essential for thoroughly combining your ingredients, ensuring the sugar and cocoa powder fully dissolve in the milk and cream. A spatula will be handy for folding in the cream cheese swirls and scraping the sides of the bowls.
- Measuring Cups and Spoons: Accuracy is key in baking and making ice cream. Use measuring cups and spoons for precise ingredient portions to ensure the perfect balance of flavors.
- Ice Cream Scoop: For serving your Red Velvet Ice Cream, a good ice cream scoop will make the job easier and create those perfect, appetizing spheres.
- Freezer-Safe Container: After churning, you’ll need to freeze your ice cream to achieve the right consistency. A freezer-safe container with a tight-fitting lid is ideal to prevent freezer burn and keep your ice cream fresh.
Step-by-Step Guide to Making Red Velvet Ice Cream
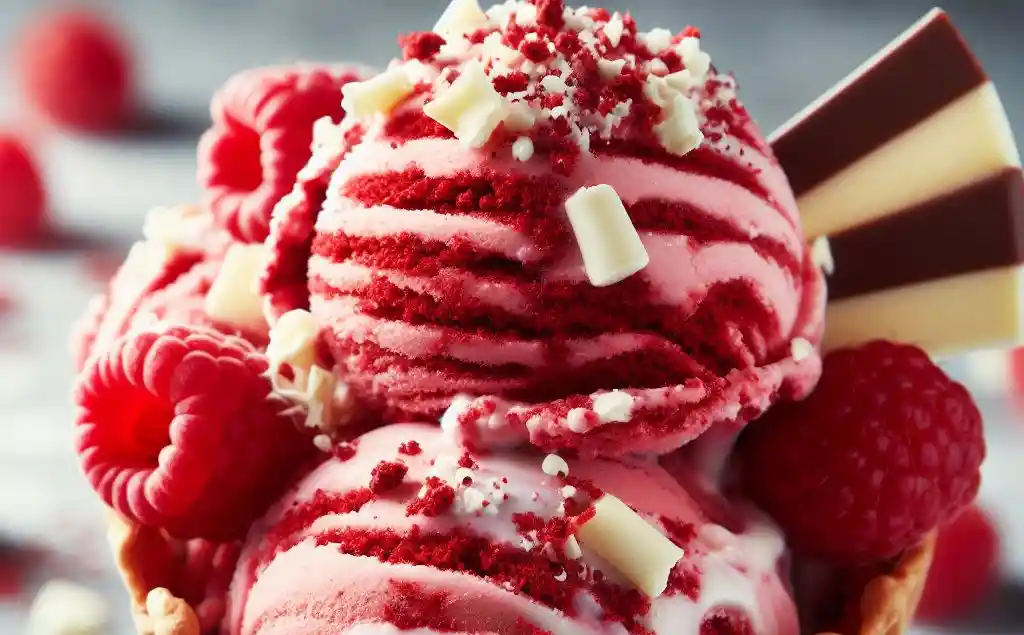
- Begin by combining the heavy cream, whole milk, granulated sugar, and unsweetened cocoa powder in a large mixing bowl. Whisk these ingredients together until the sugar is completely dissolved and the mixture is smooth.
- Stir in the vanilla extract, a pinch of salt, and the red food coloring. Mix well until the color is evenly distributed and the mixture has achieved that classic red velvet hue.
- Pour the mixture into your ice cream maker. Follow the manufacturer’s instructions for churning. This usually takes about 20-25 minutes, but the exact time can vary depending on your machine.
- While the ice cream is churning, prepare the cream cheese swirls. In a separate bowl, combine the softened cream cheese, powdered sugar, and lemon juice. Beat them together until smooth and creamy.
- Once the ice cream has finished churning and is thick and creamy, gently fold in the cream cheese mixture. Aim for a marbled effect, so don’t overmix.
- Transfer the ice cream to a freezer-safe container. Use a spatula to smooth the top. Cover tightly with a lid or plastic wrap.
- Freeze the ice cream for at least 2 hours or until firm. This will allow the flavors to meld and the ice cream to achieve the perfect consistency.
- Before serving, let the ice cream sit at room temperature for a few minutes to soften slightly for easier scooping.
Common Mistakes To Avoid
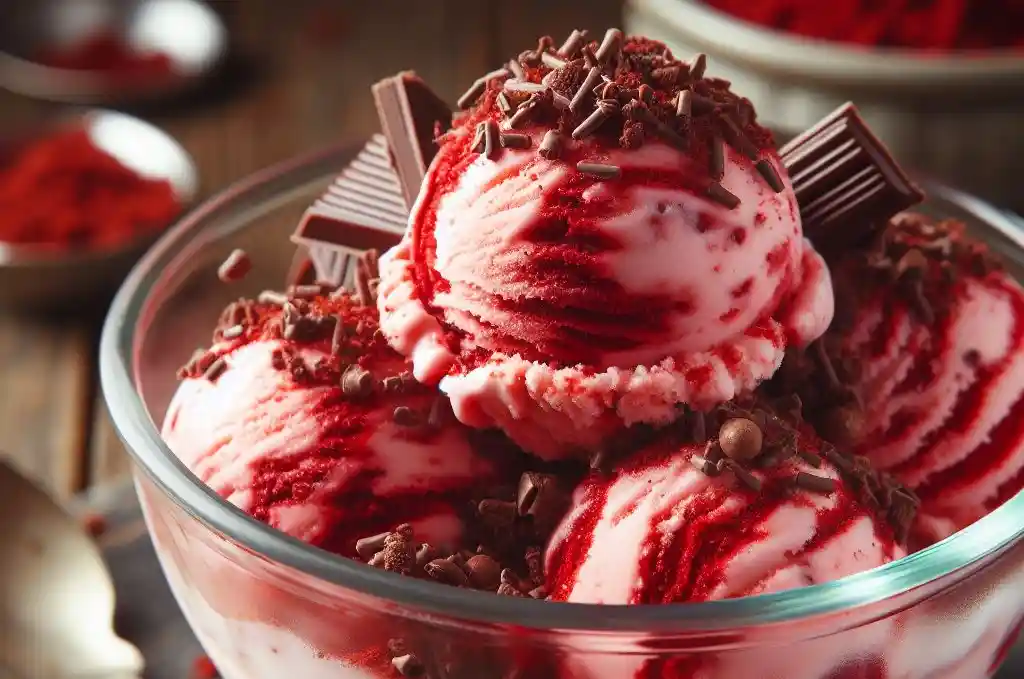
- Overmixing the Cream Cheese Swirls: Aim for a marbled effect by gently folding in the cream cheese mixture into the churned ice cream. Overmixing can lead to a uniform color and flavor, losing the distinct swirls that make this dessert special.
- Using Low-Quality Red Food Coloring: Opt for high-quality, vibrant red food coloring to achieve that iconic red velvet hue. Lower quality colors may fade during the freezing process or give an off-putting tint to your ice cream.
- Skipping the Chilling Time: It might be tempting to enjoy your ice cream right out of the churner, but skipping the final freeze means your ice cream won’t set properly. For the best texture and flavor meld, give it the necessary time to firm up in the freezer.
- Not Dissolving the Sugar Completely: Ensure the sugar is fully dissolved during the mixing process. Undissolved sugar can result in a grainy texture that detracts from the creamy smoothness expected in ice cream.
- Neglecting Equipment Prep: If your ice cream maker requires pre-freezing the bowl, make sure it’s fully frozen before use. Starting with a partially frozen bowl will prevent your ice cream from setting properly, resulting in a slushy or overly soft consistency.
Tips for Perfecting Your Red Velvet Ice Cream
- Chill Your Ingredients: Before you begin, ensure all your ingredients, especially the heavy cream and milk, are well-chilled. This helps in creating a smoother texture as the ice cream churns.
- Experiment with Natural Colorants: If you’re wary of using artificial food coloring, beet powder or juice can be a great alternative for achieving that signature red velvet color. Start with a small amount and adjust according to the desired hue.
- Sift the Cocoa Powder: To avoid lumps in your ice cream, sift the cocoa powder before adding it to the mixture. This ensures a smooth, uniform flavor and color throughout.
- Room Temperature Cream Cheese: Make sure the cream cheese is at room temperature before mixing it with powdered sugar and lemon juice. This will make it easier to achieve a smooth, lump-free swirl.
- Taste as You Go: Don’t be afraid to taste your mixture before churning. Adjust the sweetness or intensity of the cocoa flavor to suit your preferences. Remember, flavors tend to dull slightly once frozen.
- Pre-Freeze Your Serving Dishes: For an extra touch of elegance and to prevent immediate melting, pre-freeze your serving bowls or cones before scooping the ice cream into them.
- Layer the Swirls: For a more dramatic effect, layer the ice cream and cream cheese swirls when transferring to the freezer-safe container. This creates distinct layers of flavor and color, making each scoop visually appealing.
Best Ways to Serve Red Velvet Ice Cream
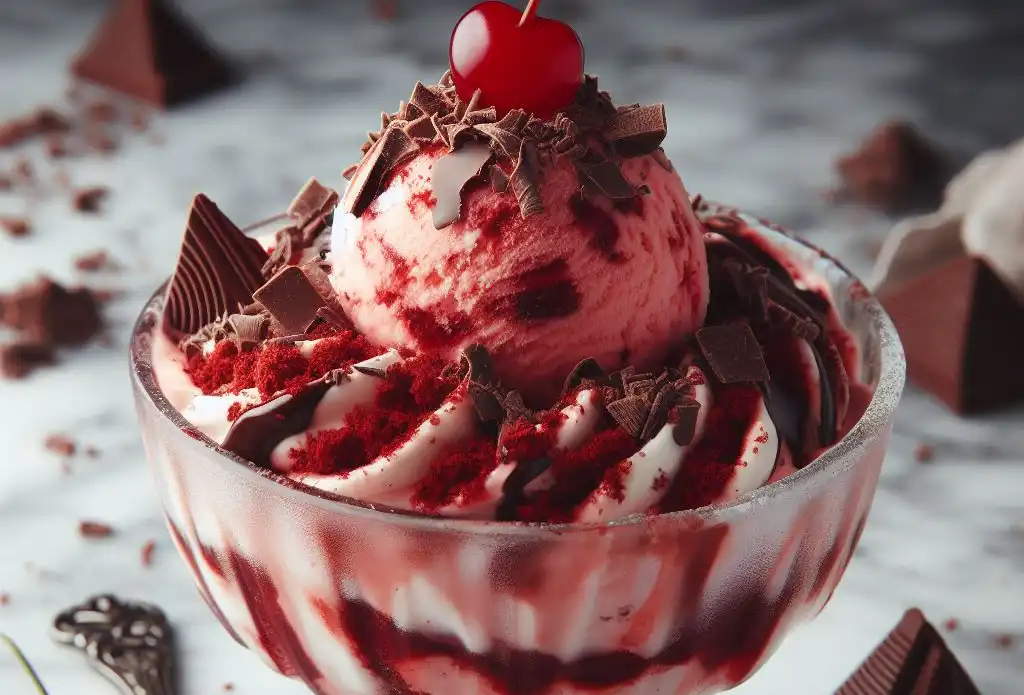
- As a Sophisticated Sundae: Elevate a classic sundae by layering scoops of Red Velvet Ice Cream with dollops of whipped cream, a sprinkle of red velvet cake crumbs, and a drizzle of rich chocolate sauce. Top it off with a cherry for that extra special touch.
- With Fresh Berries: The tangy sweetness of fresh raspberries, strawberries, or blackberries pairs wonderfully with the creamy richness of Red Velvet Ice Cream. Serve with a handful of fresh berries on top for a refreshing and elegant dessert.
- Red Velvet Ice Cream Sandwiches: Use thin slices of red velvet cake or soft chocolate cookies to create indulgent ice cream sandwiches. The combination of cake or cookie with the creamy ice cream in the middle makes for a decadent treat.
- In a Waffle Cone: For a simple yet delightful serving option, scoop Red Velvet Ice Cream into a crispy waffle cone. The contrast between the crunchy cone and the smooth ice cream is sure to please.
- As a Float: Pour a splash of soda water or clear soda over a scoop of Red Velvet Ice Cream in a tall glass for an innovative twist on the classic float. The fizz adds a unique texture and makes for a visually stunning presentation.
- Affogato-Style: For a more grown-up version, serve a scoop of Red Velvet Ice Cream with a shot of hot espresso poured over the top. The hot coffee melting the ice cream creates a rich, creamy treat with a jolt of flavor.
Tips For Preserving Freshness and Flavor for Longer
- Store in an Airtight Container: Use a container with a tight-fitting lid to protect your Red Velvet Ice Cream from freezer burn and odor absorption from other foods.
- Press Plastic Wrap on the Surface: Before sealing the container with its lid, lay a piece of plastic wrap directly on the surface of the ice cream. This minimizes ice crystal formation that can affect texture and taste.
- Keep It Deep in the Freezer: Place your ice cream in the back part of your freezer where the temperature is most constant. Fluctuations can cause thawing and refreezing, impacting the ice cream’s quality.
- Use Quality Ingredients: The fresher your ingredients, the longer your Red Velvet Ice Cream will maintain its best flavor and texture. High-quality cream and milk make a difference.
- Serve With a Warm Scoop: To prevent the ice cream from melting too fast and subsequently refreezing into a harder texture, dip your ice cream scoop in warm water before serving.
- Consume Within a Month: While ice cream can last longer in the freezer, for the best flavor and quality, enjoy your homemade Red Velvet Ice Cream within a month of making it.
How to Make This Recipe Perfect Every Time?
- Prep in Advance: Make sure your ice cream maker’s bowl is fully frozen (if required) before you start. A last-minute realization can throw off your ice cream-making plans.
- Quality Matters: Invest in high-quality cocoa and red food coloring. The better the ingredients, the more vibrant and flavorful the ice cream will be.
- Temperature Control: Keep all your ingredients as cold as possible before mixing. This helps the ice cream mixture cool faster and churn to the right consistency.
- Follow the Recipe: Resist the urge to tweak the ingredient ratios on your first try. The balance of sugar, fat, and liquid is crucial for texture and flavor.
- Mix Thoroughly But Gently: When incorporating the cream cheese swirls, mix them in gently to maintain the marbled effect without overmixing.
- Patience Pays Off: Give your ice cream enough time to churn to a creamy texture in the ice cream maker, and then allow it to firm up in the freezer before serving.
- Taste Test: If possible, taste the mixture before freezing. Adjustments are easier to make at this stage.
- Storage is Key: Once prepared, store the ice cream as recommended to preserve its freshness and flavor, avoiding ice crystal formation.
Conclusion
Embracing the art of making homemade Red Velvet Ice Cream is not just about indulging in a sumptuous dessert; it’s about creating moments of joy and luxury in your own kitchen.
This recipe offers a splendid fusion of classic charm and creamy delight, making every spoonful a celebration.
As you venture into this sweet endeavor, remember that the magic lies in the blend of quality ingredients, patience, and passion for culinary creativity.
Let this guide inspire you to transform simple gatherings into exquisite taste experiences. Happy churning!
FAQs
- Can I make Red Velvet Ice Cream without an ice cream maker? Yes, you can. Although using an ice cream maker provides the best texture, you can freeze the mixture in a shallow container, stirring every 30 minutes until it reaches the desired consistency.
- Is there a vegan alternative for this recipe? Absolutely. Substitute the heavy cream and milk with full-fat coconut milk and use vegan cream cheese for the swirls. Ensure your sugar and food coloring are vegan-friendly too.
- How can I intensify the red velvet flavor? For a richer red velvet taste, you can add an additional tablespoon of cocoa powder. Be mindful that adding too much can overpower the subtle flavors that make red velvet distinctive.
- Can I use natural food coloring? Yes. Beet powder or juice is a great natural substitute for artificial food coloring. Start with a small amount and adjust to achieve the desired color, keeping in mind that the color may be less vibrant.
- How long can I store homemade ice cream? For optimal taste and texture, enjoy your Red Velvet Ice Cream within a month. Make sure it’s stored properly in the freezer to maintain its quality.

Hello! I’m Eloise Wilson, the culinary enthusiast behind SimplyCookings. Cooking is my canvas and flavors are my palette. I’m here to share easy-to-follow recipes and kitchen wisdom that will make your cooking journey joyful and delicious. Join me and let’s turn everyday meals into extraordinary experiences!

