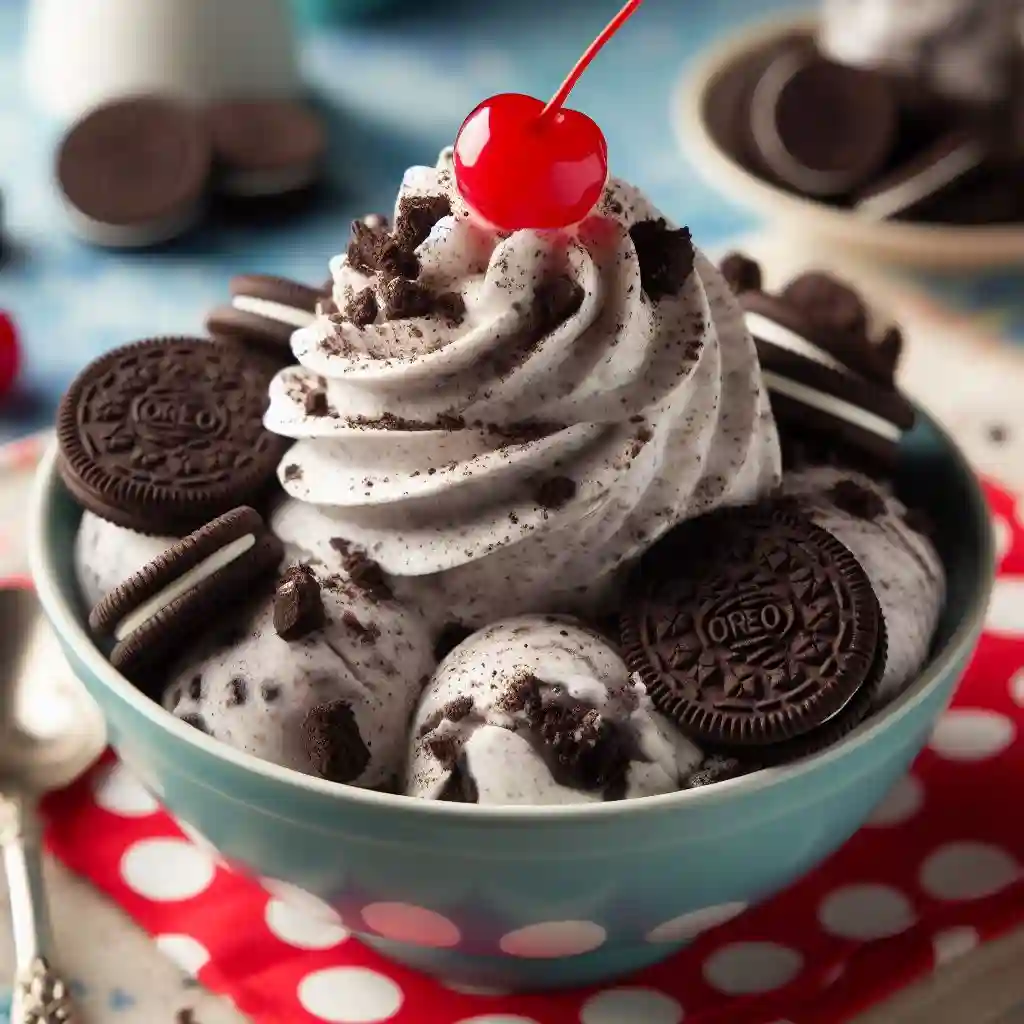
Homemade Oreo Ice Cream: A Step-by-Step Recipe
Craving a sweet and creamy treat that combines the classic flavors of cookies and cream? Look no further than this homemade Oreo Ice Cream recipe!
With just a few simple ingredients and easy-to-follow steps, you can create a delicious frozen dessert that will have your taste buds dancing.
So, get ready to indulge in a scoop (or two) of this decadent treat by following our step-by-step guide.
Oreo Ice Cream Recipe – A Quick Overview

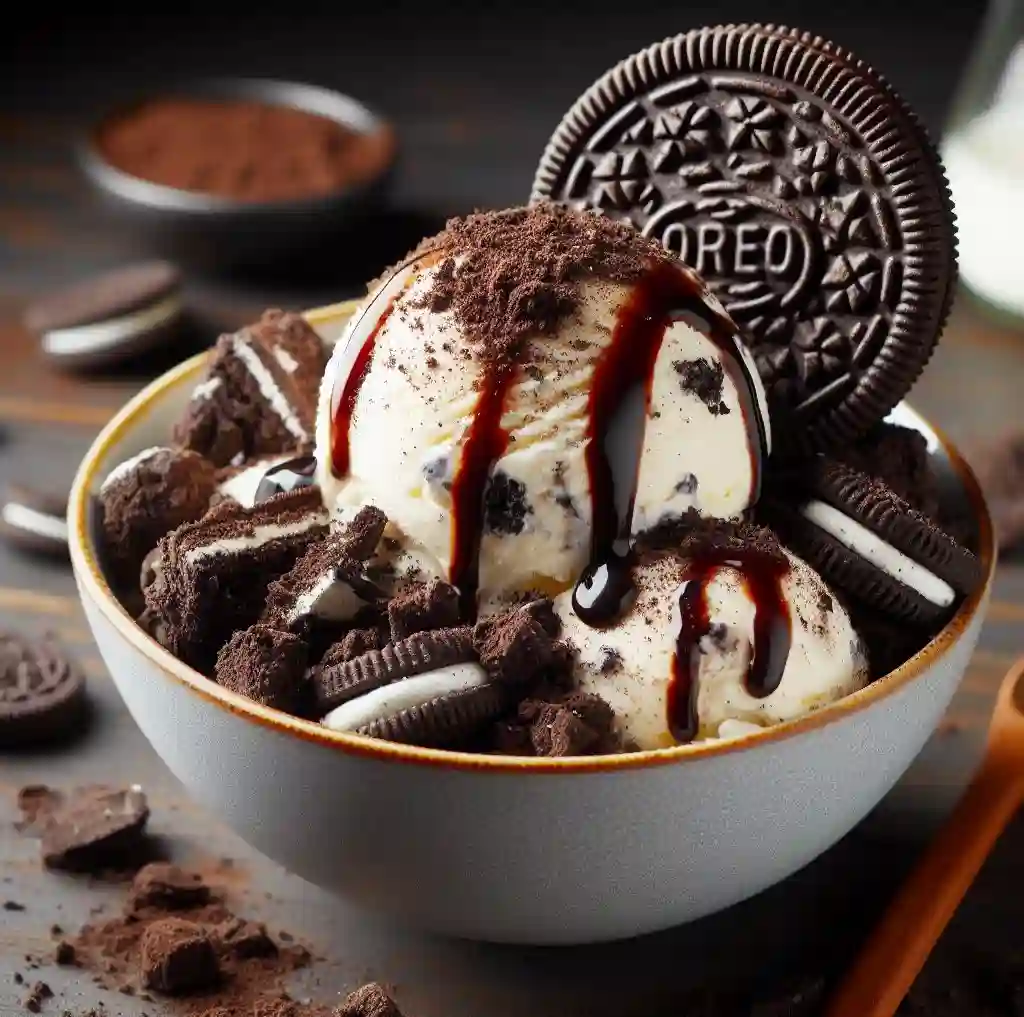
Recipe Description: Creamy vanilla ice cream mixed with chunks of Oreo cookies.
Preparation Time: 10 minutes
Cooking Time: 0 minutes (No-churn)
Total Time: 6 hours 10 minutes (Including freezing time)
Type of Dish: Dessert
The Cuisine of the Recipe: American
Quantity Produced by the Recipe: Approximately 2 quarts
The Number of Calories in the Recipe: Approximately 250 calories per serving (This will vary based on serving size and specific ingredients used.)
About Oreo Ice Cream Recipe

The Oreo Ice Cream recipe we’re diving into is a harmonious blend of creamy goodness and the iconic crunch of Oreo cookies. A beloved classic, this ice cream variant stands out due to its simplicity in preparation and its universally appealing flavor.
Embracing the no-churn method, this recipe is accessible to dessert lovers of all skill levels, requiring minimal tools and ingredients.
As we unfold the steps to creating this delightful treat, you’ll discover the joys of homemade ice cream and the endless possibilities of customization, making each batch uniquely yours.
Why Oreo Ice Cream is a Must-Try?

- Unique Flavor Combination: The rich, creamy texture of vanilla ice cream combined with the crunchy, chocolatey goodness of Oreo cookies creates a match made in heaven. This unique blend of flavors and textures makes Oreo ice cream a standout treat.
- Easy to Make: With the no-churn method, anyone can make this delicious dessert without the need for an ice cream maker. It’s an accessible recipe for all levels of cooks, ensuring everyone can get a taste of homemade goodness.
- Versatility in Servings: Whether served in a cone, as part of an ice cream sandwich, or simply in a bowl, Oreo ice cream is incredibly versatile. It can be dressed up with additional toppings or enjoyed as is for a classic flavor experience.
- Perfect for All Occasions: Oreo ice cream is not just a summer treat; it’s perfect for all occasions and seasons. Whether it’s a special dessert for a holiday, a comfort treat for a movie night, or a homemade surprise for a loved one, it never disappoints.
- Customizable: While the classic Oreo and vanilla base is irresistible, the recipe allows for customization. Mix in additional flavors or cookie types to create a batch that’s uniquely yours, making every spoonful a new discovery.
Ingredients For Oreo Ice Cream Recipe
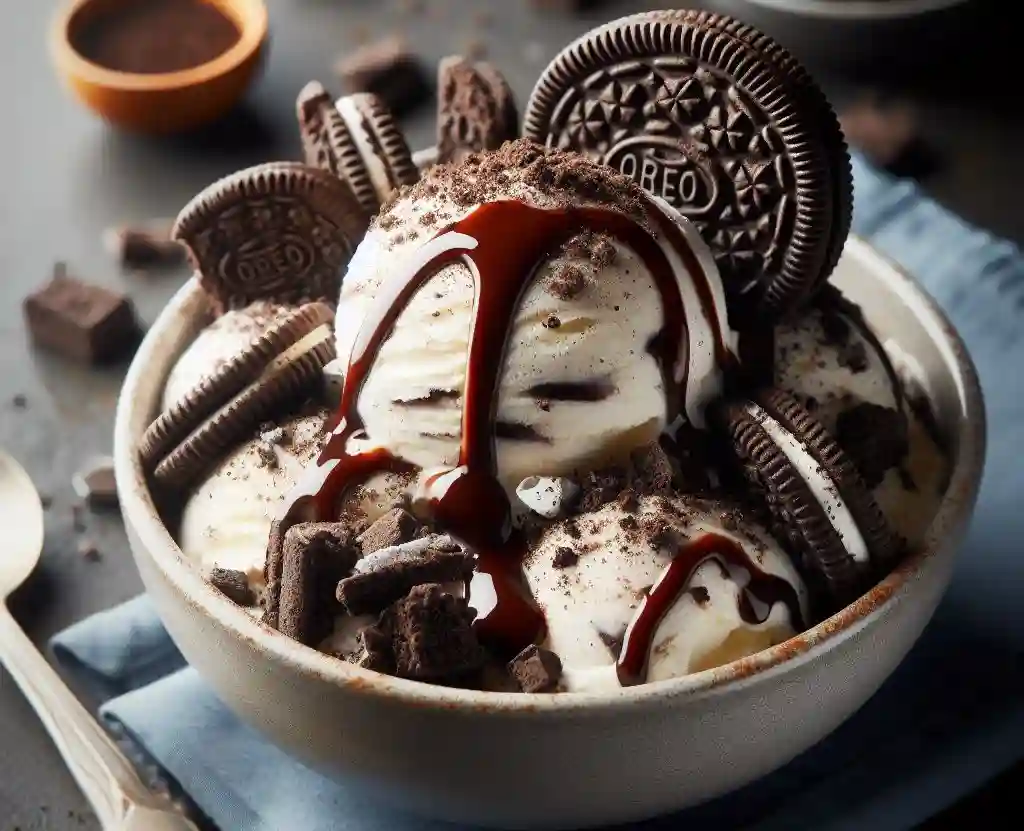
To whip up your own batch of delicious Oreo ice cream, you’ll need the following ingredients:
- 2 cups of heavy cream, chilled
- 1 (14 oz) can of sweetened condensed milk
- 1 teaspoon of pure vanilla extract
- 1 package of Oreo cookies (about 14-16 cookies), crushed
- A pinch of salt
Essential Tools For Making Oreo Ice Cream
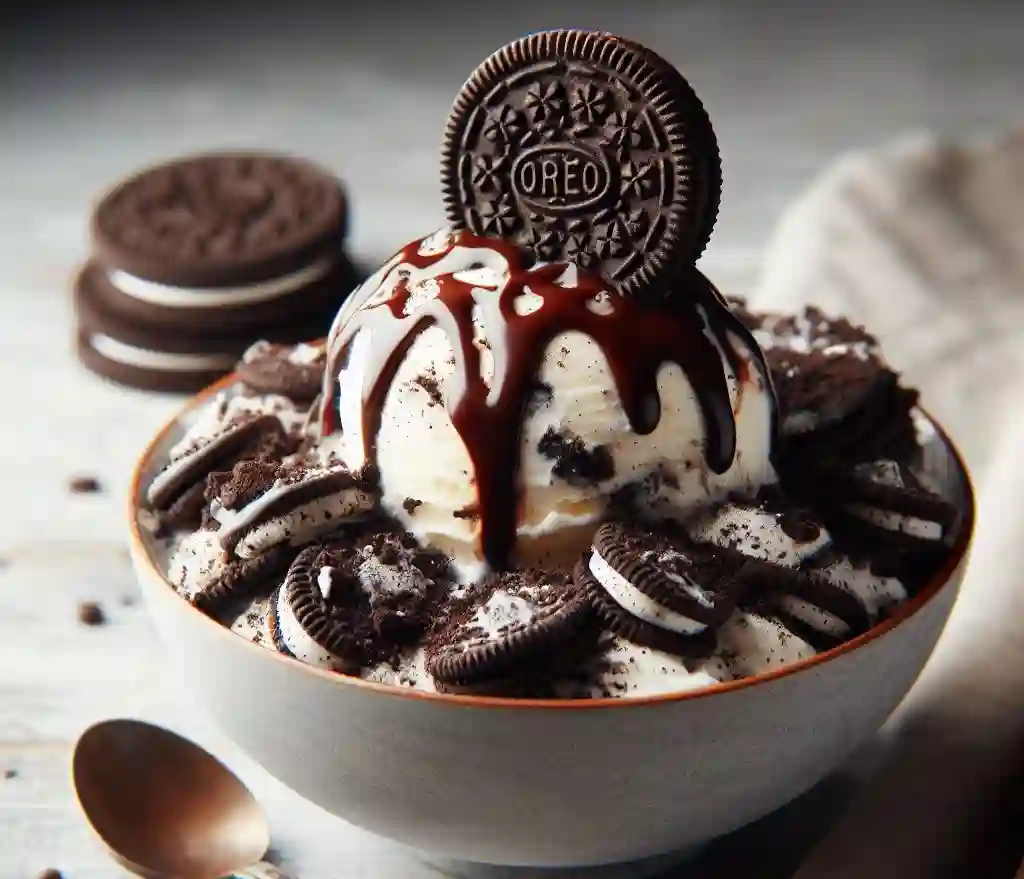
To ensure your homemade Oreo ice cream making process goes smoothly, having the right tools on hand is crucial. Here’s a concise list of essential equipment you’ll need:
- Large Mixing Bowl: You’ll need a sizeable mixing bowl to whip the heavy cream and mix in the condensed milk, vanilla, and crushed Oreos. A larger bowl gives you enough space to mix thoroughly without spilling.
- Electric Mixer or Whisk: An electric mixer will significantly speed up the process of whipping the heavy cream to stiff peaks. However, if you don’t have one, a good old-fashioned whisk and some elbow grease will do the job; just be prepared for a workout!
- Rubber Spatula: A spatula is indispensable for folding the crushed Oreos into the cream mixture gently. It helps ensure you don’t deflate the mixture while incorporating the cookies evenly.
- Loaf Pan or Freezer-safe Container: Once your mixture is ready, you’ll need a loaf pan or any freezer-safe container to freeze the ice cream. A loaf pan is ideal for achieving a classic shape, but any container will work as long as it’s suitable for freezing.
- Aluminum Foil or Plastic Wrap: To prevent freezer burn and keep your ice cream fresh, cover the surface directly with plastic wrap or aluminum foil before sealing it with the container’s lid.
- Ice Cream Scoop: For serving your homemade Oreo ice cream, a sturdy ice cream scoop will make the job easier, giving you those perfect, round scoops.
Step-by-Step Instructions For Oreo Ice Cream Recipe

Prepping Your Ingredients
- Begin by placing your large mixing bowl and the whisk or beaters of your electric mixer in the freezer for about 15-30 minutes before starting. This will help achieve a better whip in your heavy cream.
- Crush the Oreo cookies into chunky pieces, not too fine, to add texture to your ice cream. A rough chop or a quick pulse in a food processor should do the trick.
Whipping the Cream
- Take the chilled mixing bowl and whisk/electric mixer beaters out of the freezer.
- Pour 2 cups of heavy cream into the bowl and whip on high speed until stiff peaks form. This usually takes about 3-5 minutes with an electric mixer.
Mixing in the Sweetness
- Gently fold in the can of sweetened condensed milk and vanilla extract into the whipped cream. Be careful not to deflate the mixture by overmixing.
Adding the Oreos
- Finally, fold in the crushed Oreo cookies, distributing them evenly throughout the mixture. Add a pinch of salt to enhance flavors.
- Transfer the mixture into your loaf pan or freezer-safe container.
- Cover the surface directly with plastic wrap or aluminum foil before sealing with a lid or additional foil to prevent freezer burn.
Freezing
- Freeze for at least 6 hours, or until firm.
- Remove from the freezer about 5 minutes before serving to soften slightly for easier scooping.
- Serve your homemade Oreo ice cream and enjoy the creamy, crunchy goodness!
Common Mistakes To Avoid
- Overmixing the Cream: When folding in the sweetened condensed milk and vanilla extract, be gentle. Overmixing can deflate the whipped cream, leading to a less fluffy texture in the final ice cream.
- Crushing Oreos Too Fine: While you want the Oreos incorporated throughout the ice cream, crushing them into very fine pieces can result in the ice cream losing its appealing texture contrast. Aim for chunky pieces that offer a satisfying crunch.
- Not Chilling the Mixing Bowl and Beaters: Starting with a cold bowl and beaters can significantly impact the volume and texture of your whipped cream. Skipping this step may result in a heavier, less airy ice cream.
- Freezing Too Fast or Too Slow: Freezing the ice cream mixture too quickly or in an inconsistent temperature can cause ice crystals to form, making the texture grainy. Ensure your freezer is set to a consistent temperature and avoid the temptation to check on the ice cream too frequently during the freezing process.
- Skipping the Salt: Even a pinch of salt can enhance the flavors of your ice cream, balancing the sweetness and bringing out the rich flavors of the Oreos and cream.
Best Ways to Serve Oreo Ice Cream

- Classic Cone or Cup: For a timeless experience, serve your Oreo ice cream in a crisp waffle cone or a simple, elegant cup. The cone adds an extra crunch that pairs wonderfully with the creamy texture and Oreo bits.
- Ice Cream Sandwich: Elevate your ice cream game by sandwiching a generous scoop of Oreo ice cream between two chocolate chip cookies or even additional Oreo cookies for a double Oreo delight.
- Sundae Style: Layer your Oreo ice cream in a bowl with a drizzle of hot fudge sauce, a dollop of whipped cream, and a cherry on top. Sprinkle some additional crushed Oreos for an added crunch.
- Affogato: For a sophisticated twist, pour a shot of hot espresso over a scoop of Oreo ice cream. The coffee’s warmth and bitterness beautifully complement the sweet, creamy flavor.
- Milkshake: Blend your homemade Oreo ice cream with a splash of milk to create a thick, indulgent milkshake. Top with whipped cream and a whole Oreo cookie for a visually appealing treat.
- Oreo Ice Cream Cake: Layer slices of your homemade Oreo ice cream between layers of chocolate cake. Freeze until firm, then frost with whipped cream or chocolate ganache for a festive and decadent dessert.
Tips For Preserving Freshness and Flavor for Longer
To keep your homemade Oreo ice cream tasting fresh and flavorful for as long as possible, consider these tips:
- Airtight Storage: Ensure your ice cream is stored in an airtight container. Limiting exposure to air not only prevents freezer burn but also keeps the ice cream’s texture smooth and creamy.
- Surface Protection: Directly cover the surface of the ice cream with a piece of plastic wrap before sealing the container with its lid. This extra layer of protection minimizes ice crystal formation on the ice cream’s surface.
- Optimal Temperature: Keep your freezer set at a constant temperature of 0°F (-18°C). Fluctuations in temperature can cause the ice cream to thaw and refreeze, leading to ice crystals and a grainy texture.
- Use within a Month: For the best quality, consume your Oreo ice cream within a month. While it can be stored longer, the flavor and texture are optimal when enjoyed within this timeframe.
- Scoop with a Warm Spoon: Briefly running your ice cream scoop under hot water before scooping can help create smooth, easy scoops without having to thaw the ice cream too much.
How to Make This Recipe Perfect Every Time?
- Use Quality Ingredients: The flavor of your Oreo ice cream significantly depends on the quality of ingredients used. Opt for full-fat heavy cream and high-quality vanilla extract for the best results.
- Precise Ingredient Measurements: For the creamiest texture, measure your ingredients accurately. Too much or too little of any component can alter the consistency and flavor.
- Chill Your Tools: Pre-chill your mixing bowl and beaters to help the cream whip up faster and increase in volume, leading to a lighter, airier ice cream.
- Crush Oreos to the Right Size: Aim for chunky pieces rather than finely crushed Oreos. This ensures you’ll get that satisfying crunch in every bite, maintaining the iconic texture of Oreo ice cream.
- Fold Gently: When combining the whipped cream with sweetened condensed milk and Oreos, fold the mixture gently to avoid deflating the cream. This keeps the mixture light and fluffy.
- Freeze Quickly: Transfer the ice cream mixture to the freezer as soon as it’s prepared to prevent any liquid from separating and to ensure a smooth texture.
- Even Freezing: Spread the mixture evenly in the container before freezing to help it freeze uniformly, avoiding icy patches.
- Patiently Freeze: Resist the temptation to check the ice cream frequently while it’s freezing. Opening the freezer too often can introduce warm air that affects the freezing process.
Conclusion: Enjoy Your Homemade Treat
Crafting your own Oreo ice cream is a journey of both creativity and indulgence. Through the process outlined, you’ve transformed simple ingredients into a delightful dessert that’s both satisfying and uniquely yours.
As you savor each creamy, crunchy spoonful, remember that the joy of homemade ice cream goes beyond the flavors—it’s in the memories made, the smiles shared, and the pleasure of knowing you created something truly special.
Let this experience inspire you to explore more culinary creations, always making room for a little sweetness in your life.
FAQs
Can I make Oreo ice cream without an electric mixer?
Yes, you can make this ice cream using a regular whisk; however, it will require more effort to achieve stiff peaks with the heavy cream.
Is it possible to use low-fat ingredients?
While you can use low-fat heavy cream and condensed milk, the final texture and richness of the ice cream may be compromised, resulting in a less creamy dessert.
Can I add other mix-ins besides Oreos?
Absolutely! Feel free to customize your ice cream by adding nuts, chocolate chips, or other cookie types to create a variety of flavors.
How long can I store homemade Oreo ice cream?
For optimal flavor and texture, it’s best consumed within a month of making it. Ensure it’s stored properly in an airtight container in the freezer.
Why is my homemade ice cream hard to scoop?
Homemade ice cream can sometimes freeze harder than store-bought versions due to the absence of softening agents. Letting it sit at room temperature for a few minutes before scooping can make it easier to serve.
Can this recipe be made without Oreos for a plain vanilla ice cream?
Yes, simply omit the Oreos from the recipe for a delicious vanilla ice cream, or replace them with your preferred mix-ins for customization.

Hello! I’m Eloise Wilson, the culinary enthusiast behind SimplyCookings. Cooking is my canvas and flavors are my palette. I’m here to share easy-to-follow recipes and kitchen wisdom that will make your cooking journey joyful and delicious. Join me and let’s turn everyday meals into extraordinary experiences!

