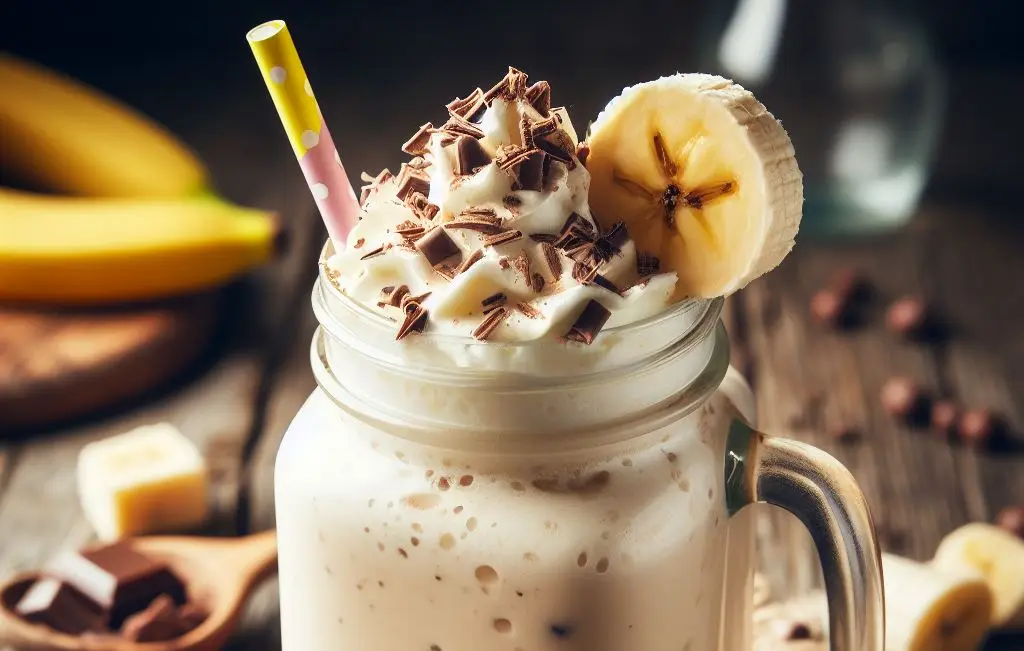
Banana Milkshake Recipe: Your Step-by-Step Guide
Are you craving a creamy and delicious banana milkshake but not sure how to make it at home? Look no further!
In this blog post, we will share with you our step-by-step recipe guide for mastering the perfect banana milkshake.
Banana Milkshake Recipe – A Quick Overview
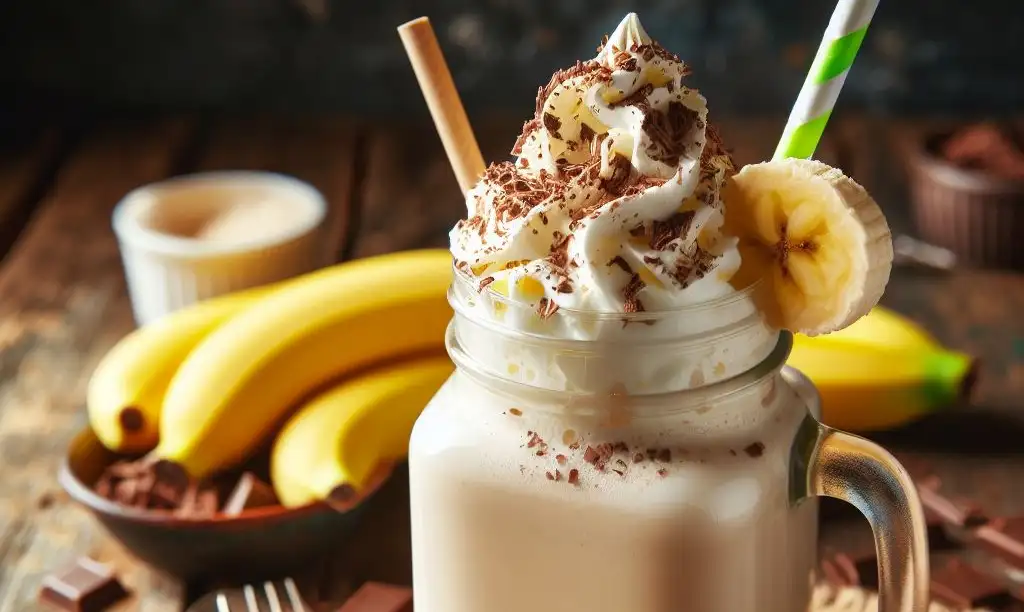
Recipe Description: A smooth and creamy blend of ripe bananas, milk, and ice cream, flavored with a hint of vanilla and sweetened to perfection.
Preparation Time: 5 minutes
Cooking Time: 0 minutes
Total Time: 5 minutes
Type of Dish: Beverage/Dessert
The Cuisine of the Recipe: American
Quantity Produced by the Recipe: Serves 2
The Number of Calories in the Recipe: Approximately 300-400 calories per serving, depending on the ingredients used.
About Banana Milkshake Recipe
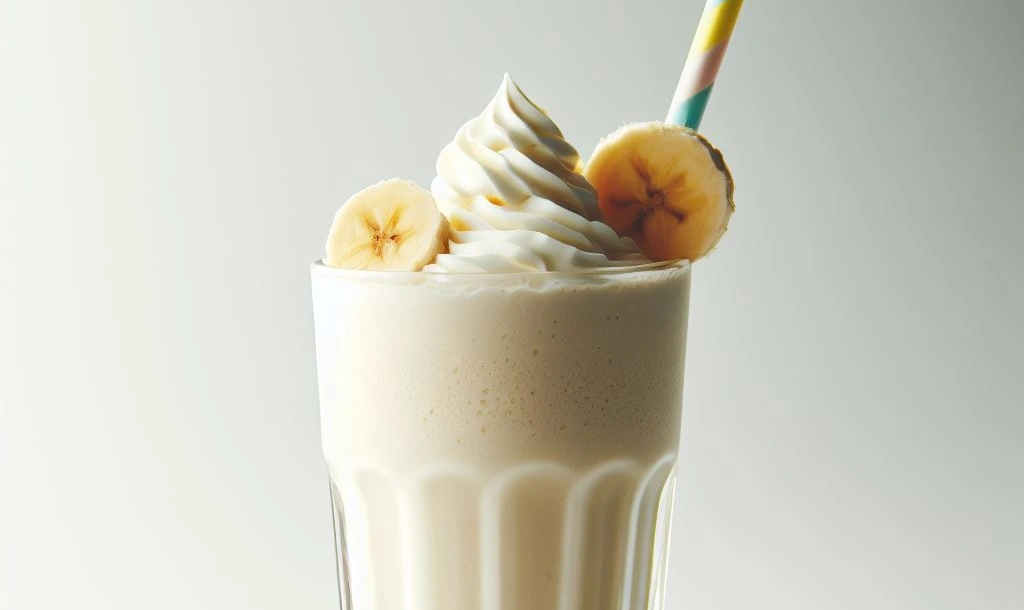
The banana milkshake, a timeless concoction, melds the simplicity of its ingredients into a drink that’s both nourishing and indulgent.
Originating from a blend of ripe bananas, milk, and ice cream, it’s a recipe that embraces versatility, allowing for numerous variations and personal touches.
This beverage stands out not only for its smooth texture and rich flavor but also for its ability to be customized to suit any taste or dietary preference.
Whether enjoyed as a quick breakfast, a midday snack, or a dessert, the banana milkshake recipe holds a special place in the hearts of those who appreciate the blend of simplicity and decadence.
Why Banana Milkshake is a Must-Try?
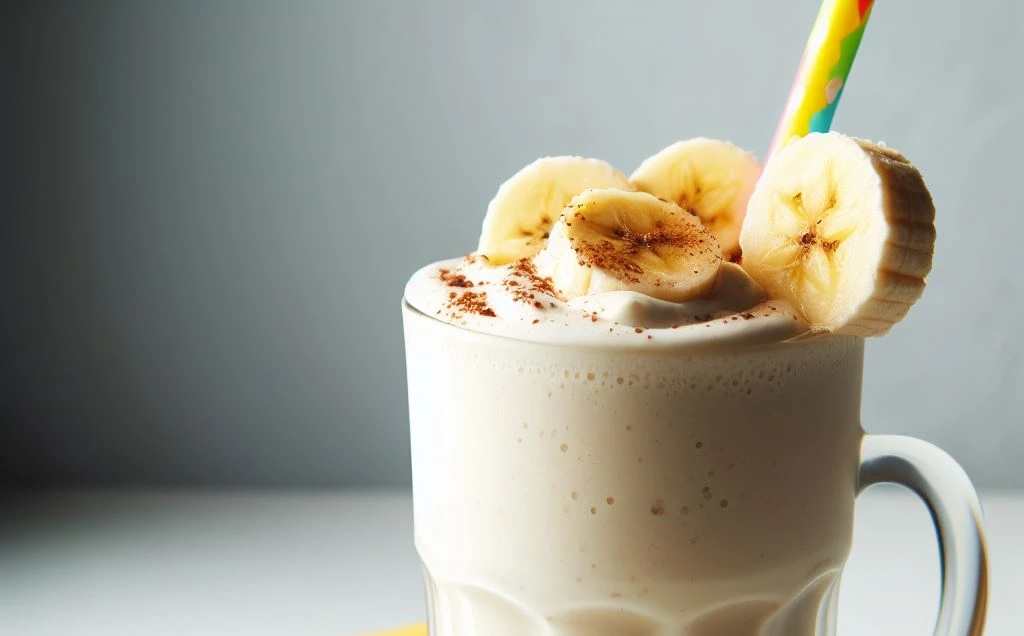
- Universal Appeal: Banana milkshake has a broad appeal that transcends age and preference. It’s a comforting classic that delights the taste buds of both children and adults alike.
- Health Benefits: Packed with essential nutrients, bananas offer a healthy boost. They are a good source of Vitamin C, potassium, and dietary fiber, contributing to heart health and digestion. Blending these benefits into a milkshake makes for a nutritious treat.
- Versatility: This milkshake is incredibly versatile. It can serve as a base for various additions, from nut butters for protein to chocolate syrup for a decadent twist. Whether you’re looking for something simple or a more elaborate treat, the banana milkshake can be tailored to your liking.
- Ease of Preparation: With minimal ingredients and preparation time, creating a banana milkshake is hassle-free. It’s the perfect go-to for a quick breakfast, a refreshing snack, or a simple dessert.
- Customization for Dietary Needs: It’s easy to accommodate dietary restrictions by substituting traditional milk and ice cream with non-dairy alternatives, making it enjoyable for everyone regardless of dietary preferences.
- Comfort Food: There’s something inherently comforting about the creamy texture and sweet flavor of a banana milkshake. It’s a feel-good treat that’s perfect for lifting spirits and satisfying cravings.
Ingredients In Banana Milkshake Recipe
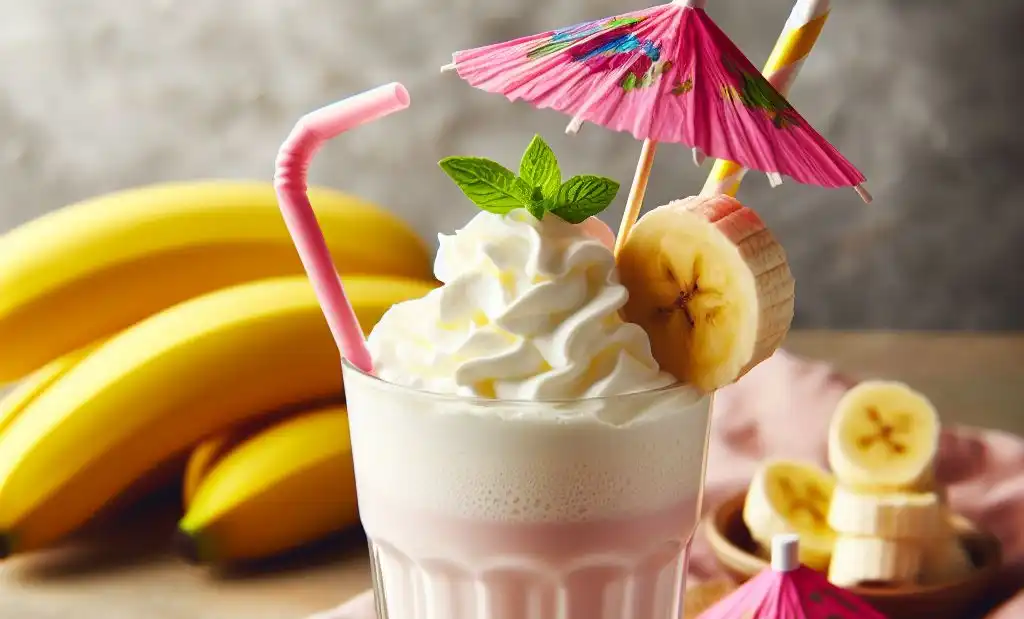
- 2 ripe bananas
- 1 cup of milk
- 2 scoops of vanilla ice cream
- 1 teaspoon of vanilla extract
- Optional sweetener
- A pinch of cinnamon
The Best Equipment for Your Milkshake
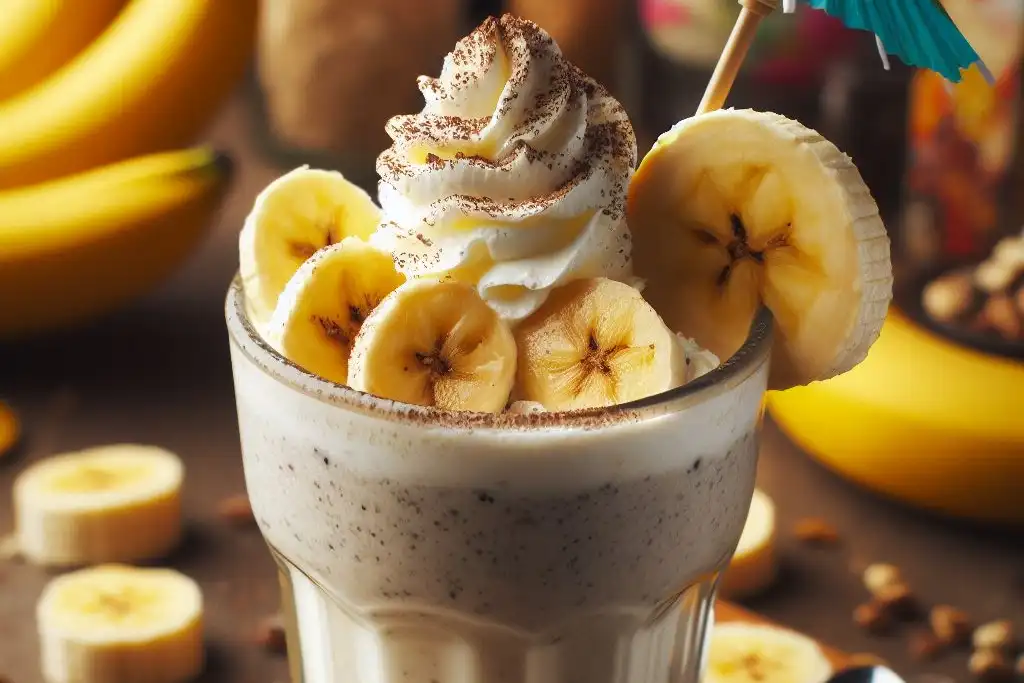
- High-Power Blender: A robust blender is crucial for crushing ice and blending the bananas into a silky-smooth texture. It’s worth investing in a high-power model for the best results.
- Measuring Cups and Spoons: Precise measurements ensure consistency in taste and texture. Have a set of measuring cups and spoons on hand to accurately measure your milk, ice cream, and any sweeteners or flavorings.
- Ice Cream Scoop: A sturdy ice cream scoop will make it easier to portion out your ice cream, especially if it’s coming straight from the freezer.
- Rubber Spatula: To ensure you get every last bit of your banana milkshake blend out of the blender, a rubber spatula will be your best friend. It’s also handy for stirring in any add-ins by hand.
- Serving Glasses: Tall, chilled glasses are ideal for serving your banana milkshake. Freezing your glasses for a few minutes before pouring can help keep your milkshake cold and refreshing.
- Straws and/or Long Spoons: Thick milkshakes sometimes require a spoon, so have some long spoons ready. Straws are also nice for sipping.
Step-by-Step Banana Milkshake Recipe
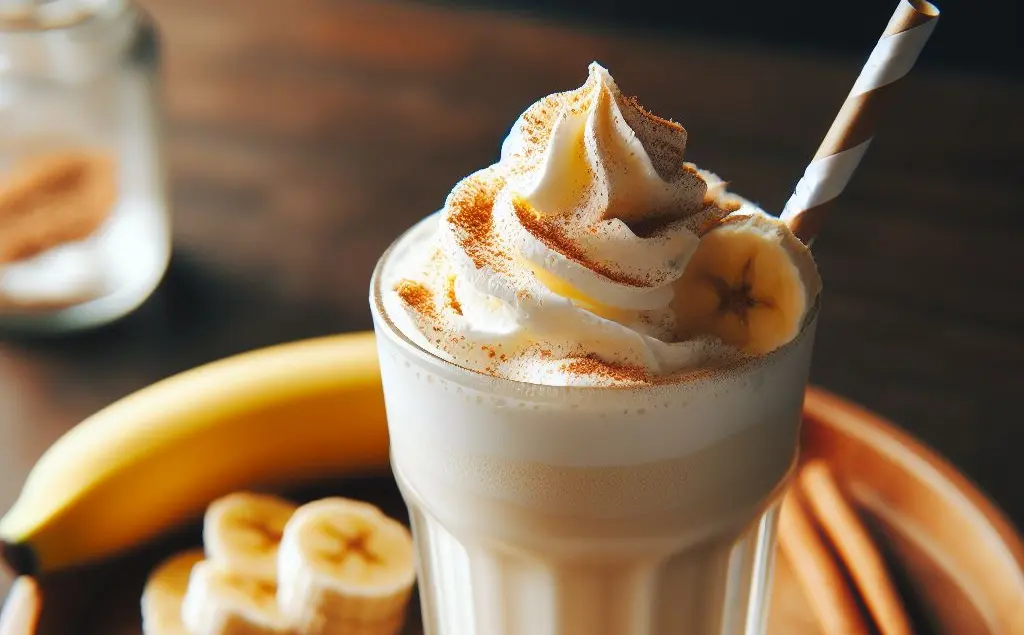
- Peel the Bananas: Start by peeling your ripe bananas. The browner and softer they are, the sweeter your milkshake will be.
- Slice the Bananas: Cut the bananas into small pieces. This makes it easier for them to blend smoothly.
- Add Bananas to Blender: Place the sliced bananas into the blender. This will be the base of your milkshake.
- Pour in the Milk: Add 1 cup of milk over the bananas in the blender. For a creamier texture, whole milk is preferred, but feel free to use any milk alternative you like.
- Scoop in the Ice Cream: Add 2 scoops of vanilla ice cream to the blender. Opt for non-dairy ice cream if you’re looking for a vegan option.
- Flavor with Vanilla Extract: Pour 1 teaspoon of vanilla extract into the blender. This enriches the milkshake’s flavor.
- Sweeten if Necessary: Taste your ingredients. If you desire more sweetness, add your choice of sweetener to the blender.
- Blend to Perfection: Blend all the ingredients together on high speed until the mixture is completely smooth and creamy. Pause to scrape down the sides with a rubber spatula as needed.
- Taste and Adjust: Give your milkshake a taste. Add more milk if it’s too thick, or more ice cream for thickness. Adjust the sweetness if necessary.
- Serve Immediately: Pour the milkshake into chilled glasses, garnish if desired, and enjoy immediately for the best flavor and consistency.
Customizing Your Milkshake
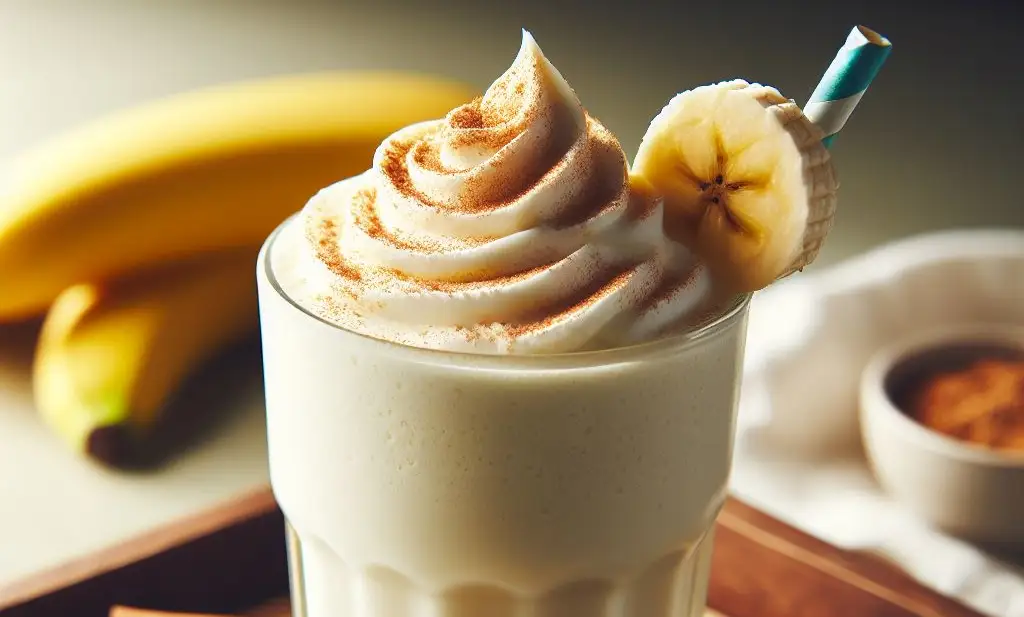
- Incorporate Nut Butters: For a protein boost and added flavor, blend in a tablespoon of almond or peanut butter. This addition complements the creamy texture and enhances the overall taste.
- Add Fresh or Frozen Berries: Mix in a handful of fresh or frozen berries such as strawberries, blueberries, or raspberries for a burst of flavor and a dose of antioxidants. Berries add a refreshing twist and vibrant color to your milkshake.
- Experiment with Flavored Syrups: Swirl in chocolate, caramel, or strawberry syrup for an extra layer of sweetness and decadence. These syrups can create new flavor profiles and make your milkshake even more indulgent.
- Spice It Up: A pinch of nutmeg or cinnamon can add warmth and depth to the flavor. Spices are a simple way to elevate the taste and give your milkshake a unique twist.
- Include Coffee or Espresso: For a caffeine kick and a more grown-up version, add a shot of espresso or a small amount of strong brewed coffee. Coffee pairs exceptionally well with banana, offering a delightful contrast.
- Top with Whipped Cream and Toppings: Garnish your milkshake with a dollop of whipped cream and a sprinkle of crushed nuts, chocolate chips, or a cherry on top for an eye-catching presentation and added texture.
Troubleshooting Common Milkshake Mistakes
- Milkshake Too Runny: If your milkshake ends up more like a drink than a creamy delight, you’ve likely added too much milk. Correct by blending in more ice cream or frozen bananas to thicken it up.
- Milkshake Too Thick: A spoon-standing milkshake might be too thick for some. Simply thin it by gradually adding milk and blending until you reach the desired consistency.
- Lumpy Texture: To avoid a lumpy milkshake, ensure your bananas are fully ripe and slice them into small pieces before blending. If you encounter lumps, blend on high speed until smooth.
- Not Cold Enough: A lukewarm milkshake lacks the refreshing quality we love. Use frozen bananas or add a handful of ice cubes to the blend to chill it down without diluting the flavor.
- Flavor Too Bland: Underripe bananas or low-quality vanilla ice cream can result in a lackluster milkshake. Boost the flavor with a pinch of salt, more vanilla extract, or a sweetener of your choice.
- Inconsistent Results: Reproducing the perfect milkshake every time calls for precise measurements. Use measuring cups and spoons for your ingredients to ensure consistency in taste and texture.
- Blender Overheating: Making multiple batches back-to-back can overwork your blender. Allow it to cool down between uses to prevent overheating and prolong its lifespan.
Best Ways to Serve Banana Milkshake
- In Mason Jars for a Rustic Charm: Pour your creamy banana milkshake into mason jars for a touch of rustic elegance. This presentation is perfect for outdoor gatherings or a cozy afternoon at home.
- With a Topping Bar: Create a fun and interactive experience by setting up a topping bar. Offer a variety of options like crushed nuts, chocolate chips, rainbow sprinkles, and fresh banana slices. Guests can customize their milkshake to their liking.
- As a Dessert Float: Elevate your banana milkshake by adding a scoop of ice cream on top right before serving. It creates a delightful dessert float that’s both visually appealing and deliciously indulgent.
- Pair with Cookies or a Slice of Cake: For a truly decadent treat, serve your banana milkshake alongside freshly baked cookies or a slice of cake. The combination of creamy milkshake and baked goods is unbeatable.
- In Elegant Glasses with Garnish: To impress guests or make your milkshake feel more special, use elegant glasses and add a garnish. A sprig of mint, a dusting of cinnamon, or a drizzle of caramel can add a sophisticated touch.
- As a Frozen Treat: For a twist on the traditional, pour the milkshake mixture into popsicle molds and freeze. These banana milkshake popsicles are a hit, especially with kids, during the warmer months.
Tips For Preserving Freshness and Flavor for Longer
- Store Properly: If you must store your milkshake for later consumption, place it in a tightly sealed container and keep it in the coldest part of your refrigerator. Ideally, enjoy within 24 hours for best taste.
- Use Fresh Bananas: Select bananas that are ripe but not overly mushy. If you have bananas that are ripening too quickly, slice and freeze them on a baking sheet before transferring to a freezer bag. Frozen bananas also add creaminess to your milkshake without diluting the flavor.
- Chill Your Glasses: Before serving or storing, chill your glasses or storage containers in the freezer. This helps maintain the milkshake’s cold temperature, enhancing its texture and flavor upon serving.
- Blend on Demand: Milkshakes are best enjoyed immediately after blending. However, if you need to blend in advance, give the milkshake a quick blend or vigorous stir before serving to restore its creamy consistency.
- Avoid Direct Light: Keep your milkshake away from direct sunlight or warm spots in your kitchen, as heat can cause separation and affect the flavor negatively.
- Optimal Ingredient Temperature: Ensure all ingredients are cold before blending. This helps maintain the milkshake’s temperature and consistency, preventing it from becoming too runny too quickly.
How to Make This Recipe Perfect Every Time?
- Choose the Right Bananas: Opt for bananas that are ripe enough to be sweet, but not overly ripe where they become mushy. The ideal bananas have a bright yellow color with small brown spots.
- Balance Your Ingredients: Ensure a perfect ratio of bananas to milk and ice cream. Too much milk can make your milkshake runny, while too much banana or ice cream can make it too thick.
- Consider the Milk Temperature: Use cold milk straight from the refrigerator. This helps keep the milkshake cold and thick during blending.
- Blend Gradually: Start your blender on a low speed to mix the ingredients, then gradually increase to high speed. This helps create a smooth texture without overworking your blender.
- Taste and Adjust: Before serving, taste your milkshake. If it’s not sweet enough, add a bit more sweetener. If it’s too thick, blend in a little more milk.
- Serve Immediately: For the best texture and temperature, serve your banana milkshake right after blending. If you must wait, keep it in the freezer and give it a quick blend or stir before serving.
- Use Quality Vanilla Ice Cream: The flavor of your ice cream significantly affects your milkshake. Choose a high-quality vanilla ice cream for the best taste and texture.
Conclusion
Embarking on the journey of mastering the art of making the perfect banana milkshake brings both joy and satisfaction into the kitchen.
Whether you’re a novice or an experienced cook, this guide provides you with all the essentials to explore the delightful simplicity and customization of banana milkshakes.
From choosing the right ingredients to adding your personal twist, each step brings you closer to achieving banana milkshake mastery.
Embrace the process, experiment with flavors, and most importantly, enjoy the delicious results of your creation.
FAQs
Can I make a banana milkshake without ice cream?
Yes, you can make a healthier version by substituting ice cream with Greek yogurt or a banana frozen overnight to maintain the creamy texture without the added calories.
Is it possible to make a dairy-free banana milkshake?
Absolutely! Use almond milk, soy milk, or coconut milk instead of regular milk, and opt for a dairy-free ice cream alternative to make your milkshake vegan-friendly.
How can I make my banana milkshake more flavorful?
Enhance the flavor by adding a pinch of cinnamon or nutmeg, a few drops of vanilla extract, or even a tablespoon of peanut butter or cocoa powder for a richer taste.
Can I use unripe bananas for my milkshake?
It’s best to use ripe bananas because they are sweeter and blend more easily into a smooth consistency. Unripe bananas may result in a less flavorful and lumpier milkshake.
How do I store leftovers?
While banana milkshakes are best enjoyed fresh, you can store leftovers in a tightly sealed container in the refrigerator for up to 24 hours. You may need to re-blend or stir well before serving as separation may occur.

Hello! I’m Eloise Wilson, the culinary enthusiast behind SimplyCookings. Cooking is my canvas and flavors are my palette. I’m here to share easy-to-follow recipes and kitchen wisdom that will make your cooking journey joyful and delicious. Join me and let’s turn everyday meals into extraordinary experiences!

